Tag: Recipes

How to Make Apple and Blackberry Fruit Leather

apple-blackberry-fruit-leather

The one thing I miss most when backpacking for long periods is fresh fruit and vegetables. There are only so many rations of noodles, dehydrated meals and couscous I can take before I start longing for an apple and a plate of roasted veg. Or fresh blueberries. Mmmm…

My saviour in these times of need? Fruit leather. The sweet, sharp taste of real fruit in a neatly packaged, long-lasting roll. And they’re not just for backpacking – these make great snacks for kids or help grown-up kids get through a dull afternoon at the office. What’s more, they’re vegan and gluten-free.

If you live in the UK, you’ve probably noticed the brightly coloured packs of Bear Yo Yos in the snack aisle. If you’re based in the U.S. there’s a useful list of fruit leathers here. But if you’re anything like me, the price of these goodies are sometimes enough to make you wince. The good news is, they’re super easy to make at home. So if you’ve got a glut of fruit that you don’t know what to do with, read on to find out how to make your own home-made fruit leather.

apple-blackberry-fruit-leathe

What fruit to use?

You can make fruit leather out of pretty much any fruit you like! I happened to have a bag of frozen apple slices and some blackberries left over from last year’s harvest so I chose to go with this classic combination. Depending on the season, you could try some of these fun flavours:

  • Rhubarb and ginger
  • Mango and pineapple
  • Strawberry and vanilla
  • Wild blueberry
  • Raspberry and banana

The fruit you use will determine how much sugar or other sweetener you need to add. As the apples I had were quite sharp, I used a couple of tablespoons of brown sugar. Alternatively, you could use honey or agave syrup to sweeten the leather. If you’re using a sweet fruit, such as banana, you may not need to sweeten it at all.

apple-blackberry-leather-ingredients

Oven vs dehydrator?

Many fruit leather recipes recommend using a dehydrator to dry out the fruit paste and if you’re planning on making a lot of fruit leather then it may be a worthwhile investment. But if you’re making a one-off batch it’s just as easy in the oven. As we don’t have a dehydrator (yet!) the oven was the only option for me.

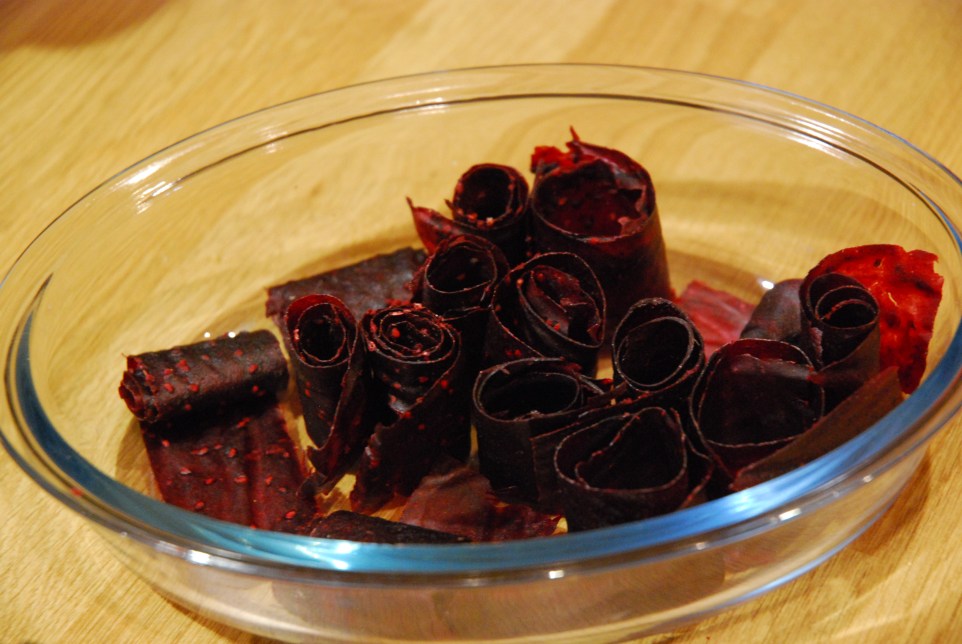
apple-blackberry-leather-puree

apple-blackberry-leather

Apple and Blackberry Leather recipe

Preparation time: 40 minutes
Cooking time: 4 – 10 hours (depending on thickness)

Ingredients:
3 cups (300g) diced apples
2 cups (200g) blackberries
2tbsp light brown sugar
1 tsp ground cinnamon

Method:

  1. Place all the ingredients in a heavy-based saucepan and heat gently for around 20-30 minutes until the fruit has broken down into a thick mush.
  2. While the fruit is cooking, line a baking tray with baking parchment or a silicone liner.
  3. Let the fruit cool slightly then blitz in a food processor or blender to get rid of any lumps.
  4. Sieve the pulp mixture onto the lined baking tray and use a spatula to spread it out – it should be no thicker than a pound coin. The thicker it is, the chewier it will end up. I went for a thinner option spread over two baking trays which ended up crispier. You can also skip the sieving if you don’t mind blackberry seeds in your fruit leather.
  5. Place your tray in the oven and set it to 80°C / fan 60°C / gas mark 1/4. Leave the leather to dry out until it is slightly tacky. If you have very thin leather (like me) this will take around 4-5 hours. If you’ve opted for thicker leather this could take up to ten hours.
  6. Cut the fruit leather into strips and roll up into coils. You can store them in an airtight container in the fridge for up to a month, or pop them in the freezer ready for your next backpacking trip!

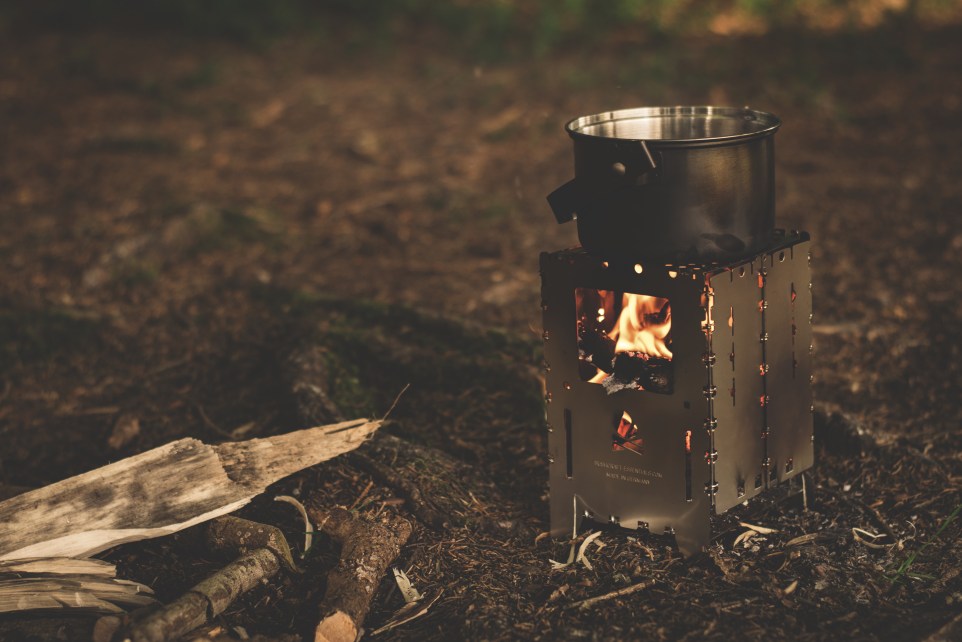
6 Quick and Easy Campervan Meals (When the Shops Are Shut)

one-pot-cooking-when-camping

Who needs kitchens anyway? The best meals are eaten outdoors.


You race out of work at five on the dot. Quickly throwing a random assortment of weekend clothes into the van, you check you’re fueled up and head off for the weekend. Three hours later (after queuing with other weekend escapees on your chosen motorway) you pull up at your destination, hungry and tired. And it’s only then that you remember you forgot to shop for dinner.

You now have two options. Option 1 is the pub. Which to be fair, is a good choice. Warm room, nice food and beer. What could be better? Except if you’re on a budget, or if your chosen sleeping spot for the night is more than a mile from the nearest eatery.

If that’s the case, then option 2 is your best (and let’s face it, only) bet. Make do with what you have in the van. And because you forgot to stop at the shops, your choices may be limited. Which is why you should always have some store cupboard essentials packed away.

We’ve pulled together the best Friday-night recipes that can be made using just one hob (or stove if you’re camping or cooking outside) and ingredients you can keep in your store cupboard. Here they are, for your dining pleasure. Happy camping!

Chorizo and chickpea stew

Chorizo is an awesome store cupboard ingredient as it adds bags of flavour to anything you cook it with. Which is why you only really need four ingredients for this tasty recipe: red onion, dry chorizo, tinned tomatoes and tinned chickpeas. The recipe below adds in a few more optional ingredients (because really, who would believe a four-ingredient recipe could taste so good?).
Get the recipe: BBC Good Food’s chorizo & chickpea stew
Make it go further: Throw in some couscous to bulk out the stew into a hearty meal. Fresh (or frozen) spinach adds a nice bit of green, and some extra minerals.
Note of caution: different types of chorizo require different storage – some are ok out of the fridge, others need to be kept chilled. Check which type you’re buying and how long it will keep for before squirreling it away in the van!

Pasta, pesto and peas

The ultimate simple meal. Four store cupboard ingredients, ready in fifteen minutes. Substitute tinned peas for the frozen peas in the recipe and keep a tub of long-life parmesan in the cupboard.
Get the recipe: Celebrating Sweets’ One-Pot Pasta with Pesto and Peas
Jazz it up: This recipe is endlessly adaptable. If you’ve got some fresh greens, chuck ‘em in. Add a grating of lemon zest to lift the pesto and a scattering of chilli flakes for a bit of spice.

Three bean chilli

Ok, so this recipe involves a lot of tins and jars. (It also uses dried beans, but just sub tinned ones. Ditto for the mushrooms and peppers.) But it’s totally flexible depending on what you’ve got in. Baked beans? Yup, chuck them in. No mushrooms but you do have tinned peas? Yeah, they’ll do. Just whack everything in a pan and bubble until you can’t wait any longer.
Get the recipe: Simply Being Mum’s Simple Slow Cooked Three Bean & Vegetable Chilli Recipe
Make it go further: If you happen to have some flour and baking powder (or self-raising flour at a push), then make some quick dumplings to add to the pan. Or add some extra stock and have it as a soup!

Spaghetti alla puttanesca (kind of)

One of my favourite recipes from the awesome Jack Monroe, spaghetti is the ultimate comfort food. You can either heat the sauce first, then cook the pasta, or just add all the sauce ingredients when the pasta’s partly cooked to heat through. Substitute dried chilli flakes for the fresh chilli and keep a bulb of garlic in the cupboard for moments like this. Nom, nom.
Get the recipe: Jack Monroe’s Spaghetti Alla Puttanesca
Make it even better: Parmesan. Mmmmm.

Spicy peanut butter noodles

Peanut butter is one of the most versatile store cupboard ingredients. You can spread it on bread, bake with it or toss with noodles as in this recipe. (Or eat straight out of the jar. Not that I’d ever do that. Ever.) If you don’t have rice wine vinegar in this recipe, just use red or white wine vinegar or even lime juice. (Or actual wine at a push. I mean you need an excuse to open that bottle right?). You can substitute the fresh chilli and chilli oil for chili flakes.
Get the recipe: Donal Skehan’s Hot and Spicy Peanut Butter Noodles
Jazz it up: Any quick-cooking veg works well with this. Cook the noodles first then set aside whilst you stir-fry the veg. Then mix everything together and serve.

Beetroot risotto

Now I have to admit, this is better with goats cheese. Or feta cheese. Or halloumi. But beggers can’t be choosers right? And really, this recipe is just fine on its own. If you don’t have / can’t be bother cooking pearl barley, just use risotto rice. Or normal rice. Really, it all works just fine.
Get the recipe: Veggie Runners’ Beetroot Barlotto for Pre-Race Carb-Loading
Jazz it up: Add cheese! You can mash the beetroot up if you prefer to have a smoother risotto.

what’s your favourite campervan dinner? Let me know in the comments below!