

The one thing I miss most when backpacking for long periods is fresh fruit and vegetables. There are only so many rations of noodles, dehydrated meals and couscous I can take before I start longing for an apple and a plate of roasted veg. Or fresh blueberries. Mmmm…
My saviour in these times of need? Fruit leather. The sweet, sharp taste of real fruit in a neatly packaged, long-lasting roll. And they’re not just for backpacking – these make great snacks for kids or help grown-up kids get through a dull afternoon at the office. What’s more, they’re vegan and gluten-free.
If you live in the UK, you’ve probably noticed the brightly coloured packs of Bear Yo Yos in the snack aisle. If you’re based in the U.S. there’s a useful list of fruit leathers here. But if you’re anything like me, the price of these goodies are sometimes enough to make you wince. The good news is, they’re super easy to make at home. So if you’ve got a glut of fruit that you don’t know what to do with, read on to find out how to make your own home-made fruit leather.

What fruit to use?
You can make fruit leather out of pretty much any fruit you like! I happened to have a bag of frozen apple slices and some blackberries left over from last year’s harvest so I chose to go with this classic combination. Depending on the season, you could try some of these fun flavours:
- Rhubarb and ginger
- Mango and pineapple
- Strawberry and vanilla
- Wild blueberry
- Raspberry and banana
The fruit you use will determine how much sugar or other sweetener you need to add. As the apples I had were quite sharp, I used a couple of tablespoons of brown sugar. Alternatively, you could use honey or agave syrup to sweeten the leather. If you’re using a sweet fruit, such as banana, you may not need to sweeten it at all.

Oven vs dehydrator?
Many fruit leather recipes recommend using a dehydrator to dry out the fruit paste and if you’re planning on making a lot of fruit leather then it may be a worthwhile investment. But if you’re making a one-off batch it’s just as easy in the oven. As we don’t have a dehydrator (yet!) the oven was the only option for me.

Apple and Blackberry Leather recipe
Preparation time: 40 minutes
Cooking time: 4 – 10 hours (depending on thickness)
Ingredients:
3 cups (300g) diced apples
2 cups (200g) blackberries
2tbsp light brown sugar
1 tsp ground cinnamon
Method:
- Place all the ingredients in a heavy-based saucepan and heat gently for around 20-30 minutes until the fruit has broken down into a thick mush.
- While the fruit is cooking, line a baking tray with baking parchment or a silicone liner.
- Let the fruit cool slightly then blitz in a food processor or blender to get rid of any lumps.
- Sieve the pulp mixture onto the lined baking tray and use a spatula to spread it out – it should be no thicker than a pound coin. The thicker it is, the chewier it will end up. I went for a thinner option spread over two baking trays which ended up crispier. You can also skip the sieving if you don’t mind blackberry seeds in your fruit leather.
- Place your tray in the oven and set it to 80°C / fan 60°C / gas mark 1/4. Leave the leather to dry out until it is slightly tacky. If you have very thin leather (like me) this will take around 4-5 hours. If you’ve opted for thicker leather this could take up to ten hours.
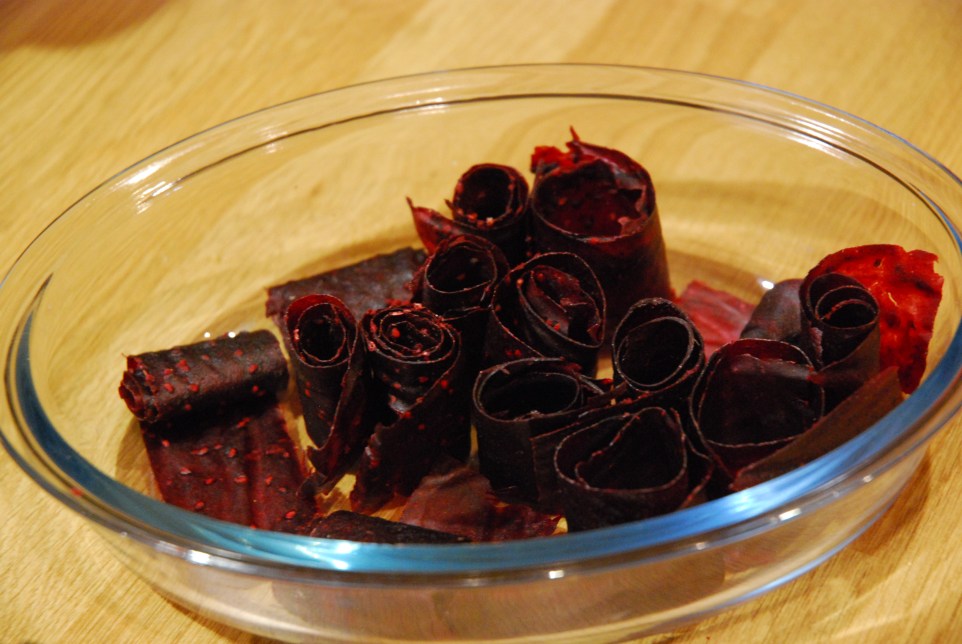
- Cut the fruit leather into strips and roll up into coils. You can store them in an airtight container in the fridge for up to a month, or pop them in the freezer ready for your next backpacking trip!